How to Install Odoo 13 on Ubuntu 20.04

In this article, we explain you how to install Odoo 13 on Ubuntu 20.04 LTS. Follow 8 easy steps for install Odoo 13 on Ubuntu. Odoo 13 release on Oct 02, 2019. It is very easy to install Odoo in Ubuntu 20.04 Focal Fossa. Odoo is a most extensive open-source ERP that provides all business related application. Such as Accounting, CRM, Sales, Purchase, Project, Point of Sale, E-Commerce and many more. So Let’s start how to install and configure Odoo 13 in Ubuntu.
Install Odoo 13 on Ubuntu 20.04 LTS Focal Fossa #
Step 1 Update and Upgrade Packages
First, we always start our installations before we ensure our system is updated. Run the following command to update the APT list of available packages and their versions. Moreover, use the upgrade command to actually install newer versions of the packages.
sudo apt update && sudo apt -y upgradeStep 2 Install Prerequisite Dependencies
Next you have to install GIT, Python 3 pip, and other required packages to build Odoo dependencies.
sudo apt install git python3-pip build-essential wget python3-dev python3-venv python3-wheel libxslt-dev libzip-dev libldap2-dev libsasl2-dev python3-setuptools node-lessStep 3 Install & Configure PostgreSQL
Next, you have to install PostgreSQL database server.
sudo apt-get install postgresql -yPostgreSQL access graphical interface, you need to install pgAdmin III.
sudo apt-get install pgadmin3Setup a PostgreSQL user for Odoo
First, create a user for communicate between Odoo client and PostgreSQL database. You have an open terminal and execute the following command.
sudo su postgresCreate PostgreSQL user same as your system user using the following command.
createuser --createdb --username postgres --no-createrole --pwprompt USERNAMEHow to find system user? If your terminal is twink@ubuntu20:/$ then "twink" is your username.
Next, you might need to execute following command to assign superuser rights to new user.
postgres@ubuntu20$ psql

postgres=# \du;
                                    List of roles
 Role name  |                         Attributes                         |
------------+------------------------------------------------------------+-----
 twink      | Create DB                                                  | {}
 postgres   | Superuser, Create role, Create DB, Replication, Bypass RLS | {}


postgres=# ALTER USER twink WITH SUPERUSER;
ALTER ROLE
postgres=# \du;
                                    List of roles
 Role name  |                         Attributes                         |
------------+------------------------------------------------------------+-----
 twink      | Superuser, Create DB                                       | {}
 postgres   | Superuser, Create role, Create DB, Replication, Bypass RLS | {}

postgres=# exit
Finally, user is created as well assigned superuser rights. Also, one more command you have to execute and exit it.
createdb stable --encoding=UNICODE
exit
Access PostgreSQL database using pgAdmin III
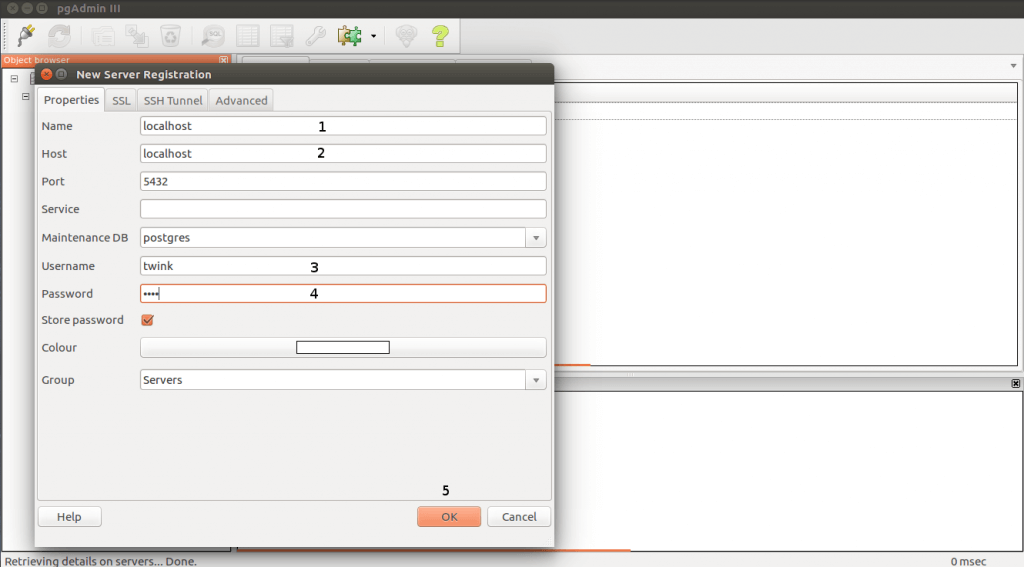
Open pgAdmin III, Goto File > Add Server. It opens the configuration window. Here you have to configure the same as below screen. Name and host set localhost. Rest of two username and password enter as per above configured.
Now your PostgresSQL and PgAdmin III configured, and they communicated.
Step 4 Download Odoo 13
Go to workspace path
cd /home/twink/workspace // here "twink" is a usernameDownload Odoo 13 source code from Github
git clone https://www.github.com/odoo/odoo --depth 1 --branch 13.0 --single-branchAlternate you can download ZIP file from Github Odoo Repository.
Step 5 Install Python depended modules
Once the source code downloaded, You have to go to that directory. Here you see requirement.txt file. Python dependencies listed in the requirements.txt file. You have to execute the below command to install depended Python modules using pip3.
cd /13.0
sudo pip3 install -r requirements.txt
Step 6 Install Wkhtmltopdf
Download and install the Wkhtmltopdf package. The recommended version is 0.12.5 (with patched qt) and it is available on the wkhtmltopdf download page, in the archive section.
wget https://github.com/wkhtmltopdf/wkhtmltopdf/releases/download/0.12.5/wkhtmltox_0.12.5-1.bionic_amd64.deb
sudo apt install ./wkhtmltox_0.12.5-1.bionic_amd64.deb
Step 7 Start Odoo 13 Server
Even more, you have to find odoo-bin executable file in Odoo 13. You have to give the following access right to execute.
sudo chmod 775 odoo-binFinally, you have to execute the odoo-bin command to start Odoo 13 in your local machine.
./odoo-binStep 8 Go to Web browser
To access Odoo 13, go to the following URL and create a new database.
http://localhost:8069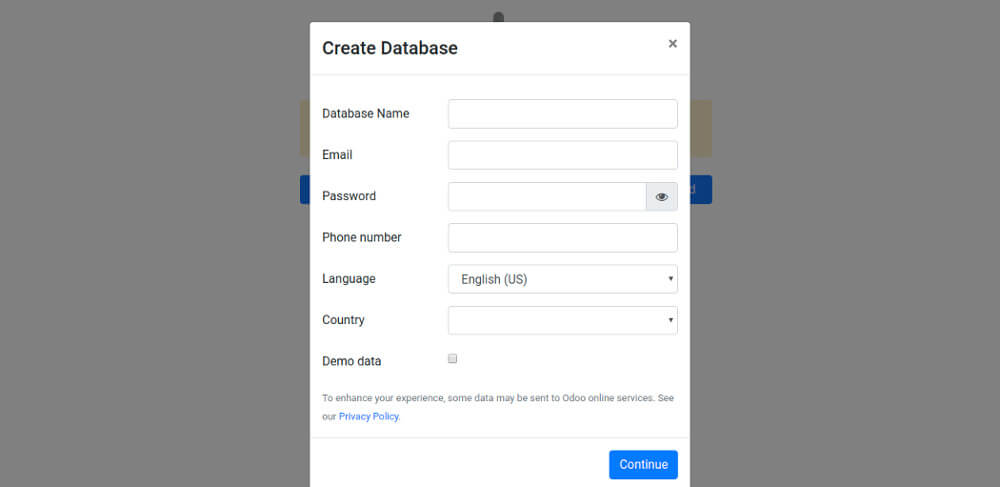
Final Thoughts
This article walked you through the install Odoo 13 on Ubuntu 20.04 in the local machine. Even more, installed PgAdmin III, wkhtmltopdf, and other python dependencies.
We hope you have found this article helpful. Let us know your questions or feedback if any through the comment section in below. You can subscribe our newsletter and get notified when we publish new articles. Moreover, you can explore here other Odoo related articles.
If you like our article, please consider buying a coffee for us.
Thanks for your support!
 Buy me a coffee!
Thanks for this post its a great opportunity for newcomers to know about Odoo.