How to Install Jupyter Notebook on Ubuntu 20.04 / 18.04
How to install Jupyter Notebook on Ubuntu 20.04 to share live code with others. In this guide, we’ll show you how to Install Jupyter Notebook on Ubuntu 20.04 LTS. Here we show you simple ways to install Jupyter on Ubuntu 20.04 LTS (Focal Fossa). You can follow the same instructions for Ubuntu 18.04, 16.04 and any other Debian based distribution like Linux Mint and Elementary OS.
Jupyter Notebook is an open-source web application that allows you to create and share live code documents with others. Jupyter is a next-generation notebook interface. Jupyter supports more than 40 programming languages including Python, R, Julia, and Scala.
Install Jupyter Notebook on Ubuntu
The following steps to install Jupyter Notebook on your Ubuntu systems.
Step 1 Update and Upgrade Packages
First, we always start our installations before we ensure our system is updated. Run the following command to update the APT list of available packages and their versions. Moreover, use the upgrade command to actually install newer versions of the packages.
sudo apt update && sudo apt -y upgradeStep 2 Install Python
Next you have to install Python 3, pip, and other required packages to build Python dependencies.
sudo apt install python3-pip python3-devStep 3 Install Python virtualenv
Upgrade pip version and install Python virtualenv package.
sudo -H pip3 install --upgrade pip
sudo -H pip3 install virtualenv
Note: Here, -H stands for security policy to set the home environment variable.
Step 4 Create Python Virtual Environment
First you have to create a directory in your home directory (or any other location). This new directory is considered our code directory.
mkdir notebookNext you have to go to the directory and create a Python virtual environment called jupyterenv.
cd notebook
virtualenv jupyterenv
Now we have to load and activate the virtual environment using the following command.
source jupyterenv/bin/activateStep 5 Install Jupyter Notebook
Write down the following command in your terminal to install Jupyter using pip.
pip install jupyterStep 6 Run Jupyter Notebook
We have installed all required packages and dependencies. Let’s start to run the Jupyter Notebook. Run the following command.
jupyter notebookHere is a home screen of Jupyter.
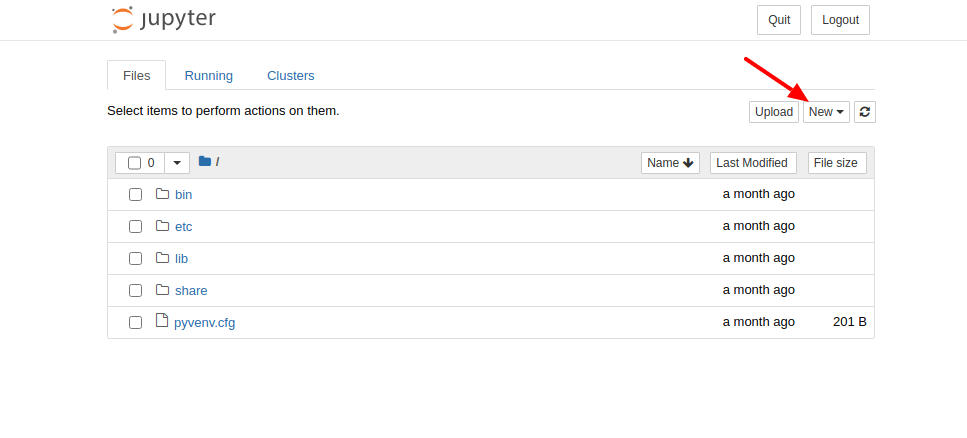
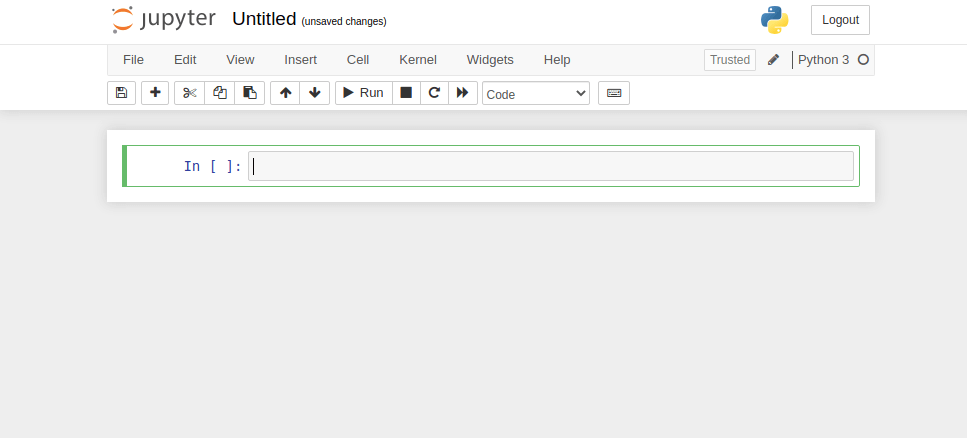
You have to click on the new menu and select Python3 or else you can select another option. It will create a new page in your browser of Jupyter.
Step 7 Create Jupyter Application Menu
Create a new file called run-jupyter.sh in your notebook directory.
#!/bin/bash

source /home/username/jupyterenvironment/bin/activate
jupyter notebook
Create a new file in /usr/share/applications called jupyter.desktop to create an application menu item.
[Desktop Entry]
Name=Jupyter Notebook
Exec=/home/username/notebook/run-jupyter.sh
Type=Application
Terminal=true
We hope you have found this article helpful. Let us know your questions or feedback if any through the comment section in below. You can subscribe our newsletter and get notified when we publish new articles. Moreover, you can explore here other interesting articles.
If you like our article, please consider buying a coffee for us.
Thanks for your support!
 Buy me a coffee!
Very helpful article. It starts the notebook from $HOME directory.
How can we force this to start the notebook from a different location?
Serving notebooks from local directory: /home/shardulkumar
Can this be changed to any other location? somewhere in “media” perhaps?
Nevermind, I found a way, created a soft link in Desktop to the media location.
How did you do it?
Thanks for the useful information. It helped me a lot to install jupyter without anaconda.
Thanks!
Thanks a lot for the fruitful information. It helped me to install jupyter without installing anaconda.
thank you
how can I install anaconda in this virtual environment?
How to open the jupyter notebook next time after installation
// Open VirtEnv directory
cd notebook
// load and activate virtual environment
source jupyterenv/bin/activate
// start the jupyter notebook ui
jupyter notebook