How To Install GIMP on Ubuntu 18.04 LTS
GIMP is one of the most popular free open-source, cross-platform image manipulation software. Recently, the latest GIMP 2.10.14 version was released and available now to install in Ubuntu. In this article, we’ll show you how to install the latest GIMP on Ubuntu 18.04 LTS. We need to first add gimp PPA to your Ubuntu 18.04 LTS systems and install it. Same instructions you can apply for any Debian based distribution, including Kubuntu, Linux Mint and Elementary OS.
GIMP (in full GNU Image Manipulation Program) is a powerful free image editor software available for GNU/Linux, OS X, Windows operating systems. If you are a designer, GIMP provides you a range of sophisticated tools to get your job done. Moreover, you can also add 3rd party plugins in GIMP.
GIMP Features #
Some of the important GIMP features:
- Photo enhancement, digital retouching, and customizable Interface.
- Painting
- All painting tools including Brush, Pencil, Airbrush, Clone, etc
- Extremely powerful gradient editor and blend tool
- Supports custom brushes and patterns
- Advanced Manipulation
- Layers and channels
- Multiple Undo/Redo
- Fully alpha channel support
- Transformation tools including rotate, scale, shear and flip
- Selection tools including rectangle, rounded rectangle, ellipse, free, fuzzy
- File Formats
- File formats supported include bmp, gif, jpeg, mng, pcx, pdf, png, ps, psd, svg, tiff, tga, xpm, and many others
- Load, display, convert, save to many file formats
- SVG path import/export
- Animation
- Load and save animations in a convenient frame-as-layer format
- System
- Wisely manage tile-based memory management. As a result, image size is limited only by available disk space
- Extensible
- Advanced scripting capabilities (Scheme, Python, Perl).
- More Than 100 plugins already available.
- Hardware Support
- Check it out GIMP release note.
Install GIMP on Ubuntu #
You can install GIMP on Ubuntu using any of the following methods. Open terminal from the application menu or by pressing Ctrl+Alt+T on the keyboard. Run the following set of commands to install GIMP in your Ubuntu system.
Install Gimp using PPA
You need to add an external apt repository in your system to install GIMP on Ubuntu. Once you add the repository, run commands to install or upgrade GIMP.
sudo add-apt-repository ppa:otto-kesselgulasch/gimp
sudo apt update
sudo apt install gimp
The above unofficial PPA is maintained by Otto Kesselgulasch. This will install the latest version of the GIMP program to install on Ubuntu 18.04.
Install GIMP via Snap Packages
Similarly, you can also install the latest version of GIMP on Ubuntu via Snap packages.
sudo apt-get install snapd
sudo snap install gimp
Open GIMP Application
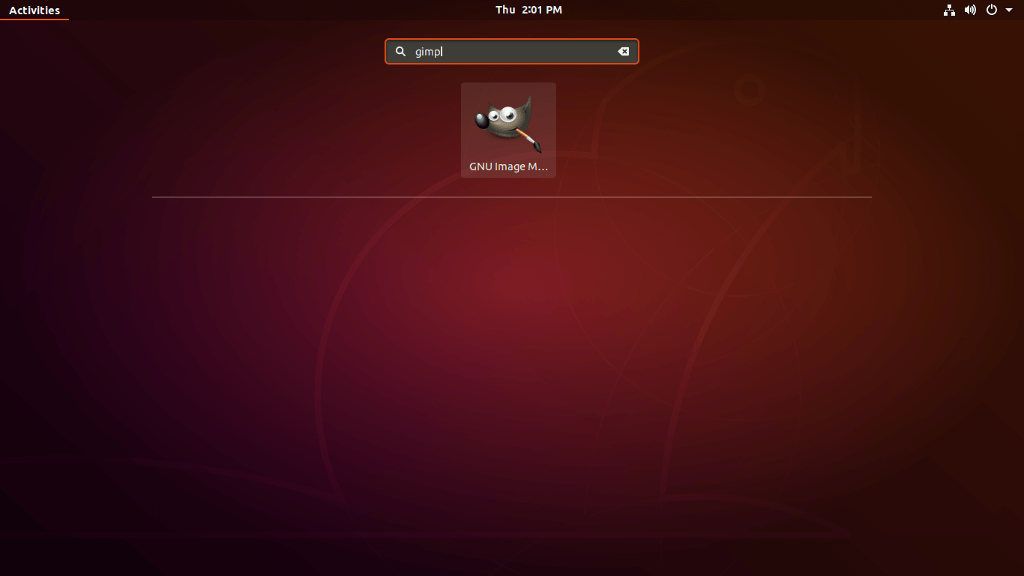
Finally, GIMP is installed on your Ubuntu. You can start it either from the terminal by typing gimp or by clicking on Show Application, and click on the GIMP icon.
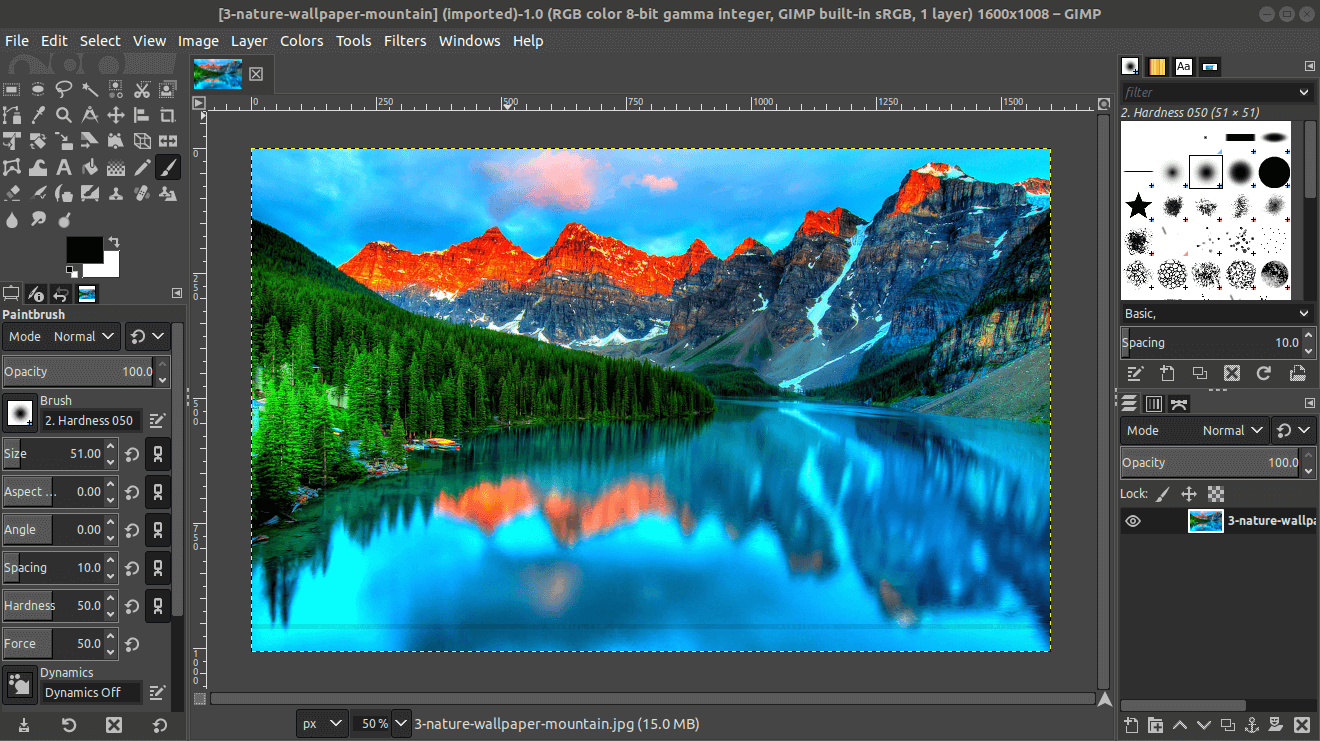
Once you open GIMP application. It will look like fresh new interface.
Uninstall GIMP from Ubuntu #
If you want to completely remove GIMP software from your systems, you can use the following command.
sudo apt-get purge gimp gimp-plugin-registryFinally, you can run the below command to remove any unused files and free up disk space.
sudo apt-get autoremoveWe hope you have found this article helpful. Let us know your questions or feedback if any through the comment section in below. You can subscribe to our newsletter and get notified when we publish new articles for free. Moreover, you can explore here other interesting articles.
If you like our article, please consider buying a coffee for us.
Thanks for your support!
 Buy me a coffee!
Join the Discussion.